The Vue.js framework together with Nuxt is making its way among FE technologies for its compactness and ease of development. Today we’ll look at the basic recipe for building a Nuxt application with Typescript.
Typescript is nothing more than Javascript’s big brother, which has more decisive ideas on data types and other more advanced features in architecture management.
A prerequisite to be able to install a Nuxt application is to have node.js and npm (a package manager) installed on the machine.
Below is the link for installing the necessary SW: https://docs.npmjs.com/downloading-and-installing-node-js-and-npm
The version of node to be installed is important, which must necessarily be 14+ (https://github.com/nuxt/nuxt/releases/tag/v2.16.0).
If you have already installed node it is always advisable to use nvm to be able to have multiple versions of node.js on the machine and to be able to manage them in parallel. For installing and using nvm, please refer to another article.
Once the context is good, run the following command to create a new application:
npm init nuxt-app <project-name>After initializing the project you will be presented with a few questions.
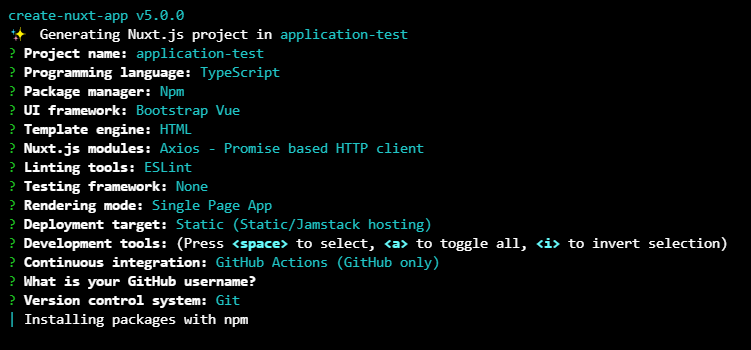
The following table shows some of the choices made, explaining the reasons for them. The choices made obviously don’t have to be the same for everyone and depend on everyone’s experience on certain topics.
| Question | Option | Notes |
|---|---|---|
| Programming language | Javascript Typescript | The choice depends on your experience with object-oriented languages. If you know anything about it, choose typescript. |
| Package manager | npm yarn | Personally I am better with npm. |
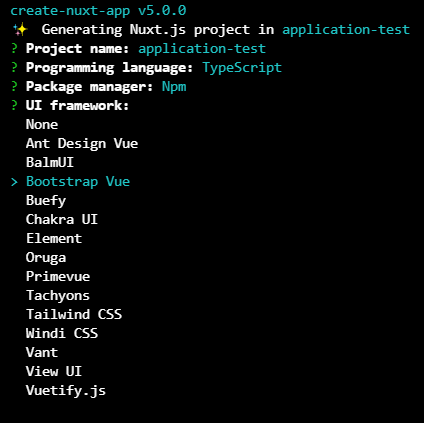
| UI framework | Bootstrap Vue | The choice from the eventual knowledge of one of the presented frameworks. Personally I would go safe with Bootstrap. |
| Nuxt.js modules | Axios | The basis in case your application needs to call external services. |
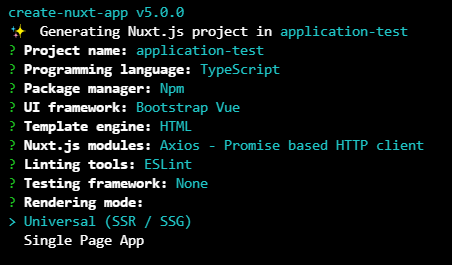
| Rendering mode | SSR / SSG SPA | The choice is based on the resources you have available for deploying your application. |
Then we can try to start the application to see if everything is ok.
cd <project-name>
npm run dev
SASS/SCSS loader
To include custom scss in your project we can install sass-loader.
npm i -D sass-loader@10.1.1 --save-exact && npm i -D sassThe version of sass-loader needs to be exact and set at the latest 10.x.x because the next one (11.0.0) is using Webpack5, hence being a breaking change because Nuxt2 is only running on Webpack4 (https://github.com/webpack-contrib/sass-loader/releases).
When installed we to add that loader in our nuxt.config.js.
export default {
  // ...
  build: {
    loaders: {
      sass: {
        implementation: require('sass'),
      },
      scss: {
        implementation: require('sass'),
      },
    },
  }
  // ...
}
And later we can try in the component.
<template>
  <div>
    <span class="my-class">
      Hello my class!
    </span>
  </div>
</template>

<style lang="scss" scoped>
div {
  .my-class {
    color: green;
  }
}
</style>
Common SCSS resources
For common scss resources (like variables or mixins) you can install:
npm install --save-dev @nuxtjs/style-resourcesAnd then import them into nuxt.config.js, inside the modules configuration.
modules: [
    // ...
    '@nuxtjs/style-resources',
]
And set them, still inside nuxt.config.js.
styleResources: {
    scss: [
        '~/assets/scss/variables.scss',
    ]
}
That’s all.
Try it at home!