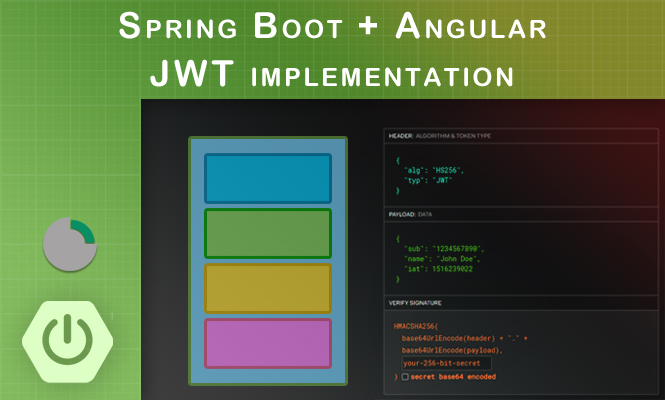
JSON Web Tokens (JWT) have become a popular choice for implementing secure and stateless authentication in modern web applications. This article delves into integrating JWT authentication with Angular, a powerful JavaScript framework, and Spring Boot, a robust Java backend framework. By the end, you’ll have a solid understanding of the concepts and practical code examples to implement your own secure application.
Understanding the Flow: From Login to Protected Resources
Here’s the basic flow of JWT authentication:
- Login: The user enters their credentials in the Angular app.
- Authentication: Angular sends the credentials to the Spring Boot backend for verification.
- Token Generation: Upon successful authentication, the backend generates a JWT containing user information and signs it with a secret key.
- Token Storage: The backend sends the JWT back to the Angular app, which securely stores it (e.g., local storage).
- Protected Resources: Subsequent requests to protected resources on the backend include the JWT in the authorization header.
- Validation: The backend verifies the JWT’s signature and validity, granting access if valid.
Spring Boot Backend Setup: Securing Endpoints and Generating JWT authentication
- Spring Security: We’ll leverage Spring Security for comprehensive authentication and authorization management. Configure secured endpoints using
@PreAuthorizeannotations. - JWT Configuration: Use libraries like
jjwtfor JWT generation and validation. Define a secret key, expiration time, and user details to encode into the JWT.
Here’s a Spring Boot service endpoint example:
@RestController
@RequestMapping("/api/protected")
@PreAuthorize("hasRole('USER')")
public class ProtectedResourceController {

    @GetMapping
    public String getProtectedData() {
        return "Hello from protected resource!";
    }
}
With annotations, only users with the “USER” role can access this resource.
- Login Endpoint: Create a login endpoint that receives credentials, verifies them, and generates a JWT upon successful authentication.
@PostMapping("/login")
public ResponseEntity<AuthenticationResponse> login(@RequestBody LoginRequest request) {
    // Authenticate user and generate JWT
    UserDetails userDetails = ...;
    String jwt = generateToken(userDetails);
    return ResponseEntity.ok(new AuthenticationResponse(jwt));
}
Angular Frontend: Sending Requests with JWT and Handling Responses
- HTTP Client: Use Angular’s built-in
HttpClientfor making API calls. Intercept requests and add the JWT to the authorization header before sending them.
import { HttpClient, HttpHeaders } from '@angular/common/http';

constructor(private http: HttpClient) { }

login(username: string, password: string) {
    const headers = new HttpHeaders({
        'Content-Type': 'application/json'
    });
    const body = JSON.stringify({ username, password });
    return this.http.post('http://localhost:8080/login', body, { headers });
}

getProtectedData() {
    const token = localStorage.getItem('jwt');
    const headers = new HttpHeaders().set('Authorization', `Bearer ${token}`);
    return this.http.get('http://localhost:8080/api/protected', { headers });
}
- Storing and Managing JWT: Securely store the JWT in local storage or browser cookies. Implement refresh mechanisms to handle expiring tokens.
- Error Handling: Gracefully handle errors and unauthorized responses from the backend, informing the user appropriately.
Putting it Together: A Step-by-Step Guide
- Set up your Spring Boot project with Spring Security and JWT dependencies.
- Implement endpoints for login, protected resources, and JWT generation/validation.
- Create an Angular project and integrate libraries for making HTTP requests and managing tokens.
- Implement login functionality and secure HTTP requests with JWTs.
- Test your application thoroughly, ensuring secure authentication and authorization flow.
Remember to secure your secret key and configure HTTPS for production environments.
Conclusion on JWT authentication
By combining Spring Boot’s security features and JWT’s flexibility, you can achieve robust authentication for your Angular applications. This article provides a solid foundation, but explore further libraries and security best practices for a comprehensive implementation. Embrace JWTs and Spring Boot to build secure and scalable web applications!

