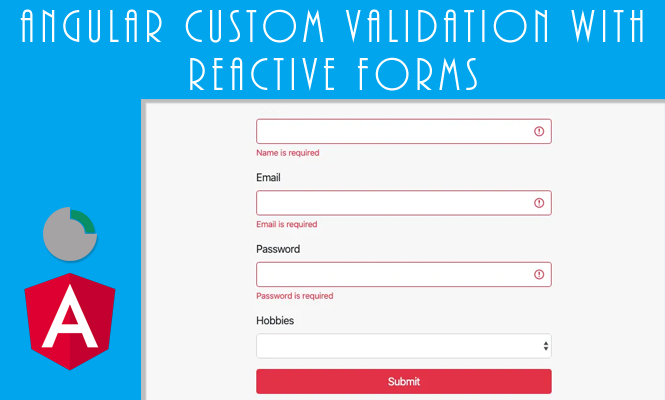
Angular’s Reactive Forms offer a robust framework for building dynamic and data-driven forms and custom validation. While built-in validators like required and email handle common scenarios, complex applications often require validation rules. This article delves into creating custom validators in Angular, empowering you to tailor form validation to your specific needs.
Understanding Reactive Forms validation
In Reactive Forms, form controls possess validation functions that determine their validity. These functions return null if valid or an error object ({ [key: string]: any }) with key-value pairs describing the error. Angular automatically triggers validation upon user interaction and during asynchronous operations.
Crafting your custom validator
- Define the Validator Function: This function takes the control’s value as input and performs validation logic. Return
nullfor valid or an error object for invalid states. Here’s an example for validating passwords:
function passwordStrengthValidator(control: FormControl): ValidationErrors | null {
  const value = control.value;
  const hasLowerCase = /[a-z]/.test(value);
  const hasUpperCase = /[A-Z]/.test(value);
  const hasNumber = /[0-9]/.test(value);
  const hasSpecialChar = /[!@#$%^&*()_+\-=\[\]{};':",\\|,.<>/?]/.test(value);

  if (value.length < 8) {
    return { minimumLength: 8 };
  } else if (!hasLowerCase || !hasUpperCase || !hasNumber || !hasSpecialChar) {
    return { complexity: true };
  }
  return null;
}
- Applying the Validator: Integrate the function into your form control definition using the
validatorsarray:
const formGroup = new FormGroup({
  password: new FormControl('', [Validators.required, passwordStrengthValidator]),
});
Advanced Techniques for custom validation
- Asynchronous Validation: For server-side checks, use
asyncValidatorsand return an observable that resolves to an error object ornull:
async emailUniqueValidator(control: FormControl): Promise<ValidationErrors | null> {
  const email = control.value;
  const response = await this.http.get<boolean>(`api/users/exists/${email}`);
  return response ? { emailTaken: true } : null;
}
- Cross-field Validation: Validate relationships between controls using custom validators that access multiple control values within your FormGroup:
function confirmPasswordValidator(control: FormControl): ValidationErrors | null {
  const password = this.formGroup.get('password');
  if (!password) {
    return null;
  }
  return password.value !== control.value ? { mismatch: true } : null;
}
- Dynamic Validation: Update validation rules based on form state by dynamically adding or removing validators from controls.
Additional Considerations
- Provide clear and informative error messages to guide users.
- Test your custom validators thoroughly to ensure robust and reliable behavior.
- Consider using existing validation libraries like
angular2-custom-validationfor advanced features.
Conclusion on custom validation
By mastering validation techniques, you unlock the full potential of Angular’s Reactive Forms. Tailor your form validation to your specific requirements, ensuring data integrity and enhancing the user experience with clear and relevant validation messages. Remember, careful planning and testing are key to creating robust and user-friendly forms. Embrace the power of custom validation and take your Angular applications to the next level!
You can have more informations on the Angular official site.
