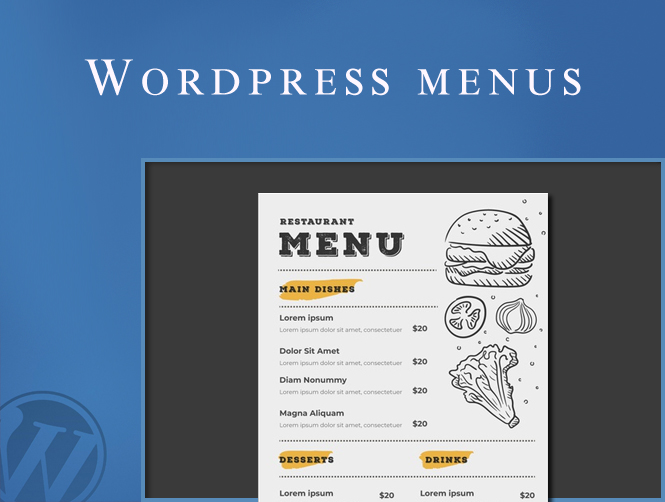
The primary menu plays a crucial role in your WordPress website’s navigation, guiding users to different sections and content. Whether you’re building a new site or revamping an existing one, knowing how to add and modify your primary menu is essential. This article walks you through the process, providing clear steps and code examples to empower you.
Accessing the Menu Editor to ad a primary menu
- Log in to your WordPress dashboard.
- Navigate to Appearance > Menus.
- If you have an existing menu, select it from the dropdown menu. If not, click Create a new menu.
Adding Menu Items
- Choose items to add: You can include various elements in your menu:
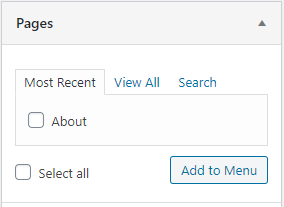
- Pages: Select existing pages from your website.
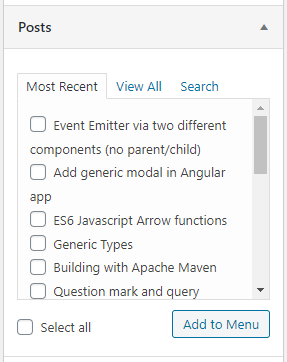
- Posts: Include specific blog posts or categories of posts.
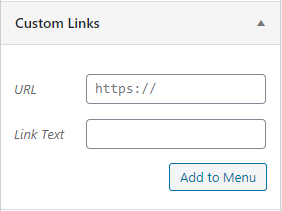
- Custom Links: Create links to external websites or internal pages not built with WordPress pages.
- Categories: Add menus based on your blog post categories.
- Drag and drop items: Arrange the items in the desired order by dragging and dropping them. Nested menus can be created by dragging items slightly to the right.
- Set Menu Labels: Customize the text displayed for each menu item. This text serves as the click target for users.
- Configure Additional Options (Optional):
- Title Attribute: Add a descriptive title that appears when users hover over the menu item.
- CSS Classes: Apply custom CSS classes to style individual menu items.
- Open Link in New Tab: Choose whether menu items open in the same or a new tab.
Types of menu items
You have 4 types of objects to be included in your menu:
1) Pages
They are static custom pages created ad hoc.
2) Posts
Individual posts published on the site.
3) Custom links
Internal or external links to the site.
4) Categories
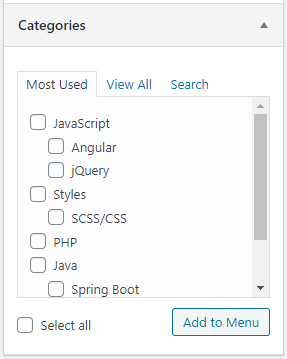
Perhaps the type of object that we will insert most often, the category.
Categories can be created under Posts > Categories. You don’t need to order them in that section because when on the menu you can choose the order to be given to the menu items.
Assigning the primary menu location
- In the Menu Settings section, select the desired location for your menu. Common options include Primary Menu and Header Menu.
- Click the Save Menu button.
Customizing your primary menu (Optional)
WordPress offers various ways to further personalize your primary menu:
- Use a Menu Plugin: Popular plugins like “NavXT” and “WP Super Menu” provide advanced customization options like hover effects, mega menus, and mobile responsiveness.
- Modify Menu Code (For Advanced Users): Access the menu code by going to Appearance > Themes > Theme File Editor. Locate the file responsible for your theme’s header and modify the menu code (using knowledge of PHP and HTML) to achieve specific customizations.
Adding a Custom Link:
<a href="https://www.example.com" class="menu-item">External Link</a>
Creating a Nested Menu:
<ul class="sub-menu">
    <li><a href="#">Nested Item 1</a></li>
    <li><a href="#">Nested Item 2</a></li>
</ul>
Remember: When modifying theme files directly, use child themes to avoid losing customizations during theme updates.
Conclusion for the primary menu on WordPress
By following these steps and utilizing the power of WordPress and optional plugins, you can create and customize your primary menu to effectively guide your website visitors and elevate your online presence. Don’t be afraid to experiment and refine your menu based on your website’s design and goals. Happy Menu-ing!